












A second life for my Bougie charging hood
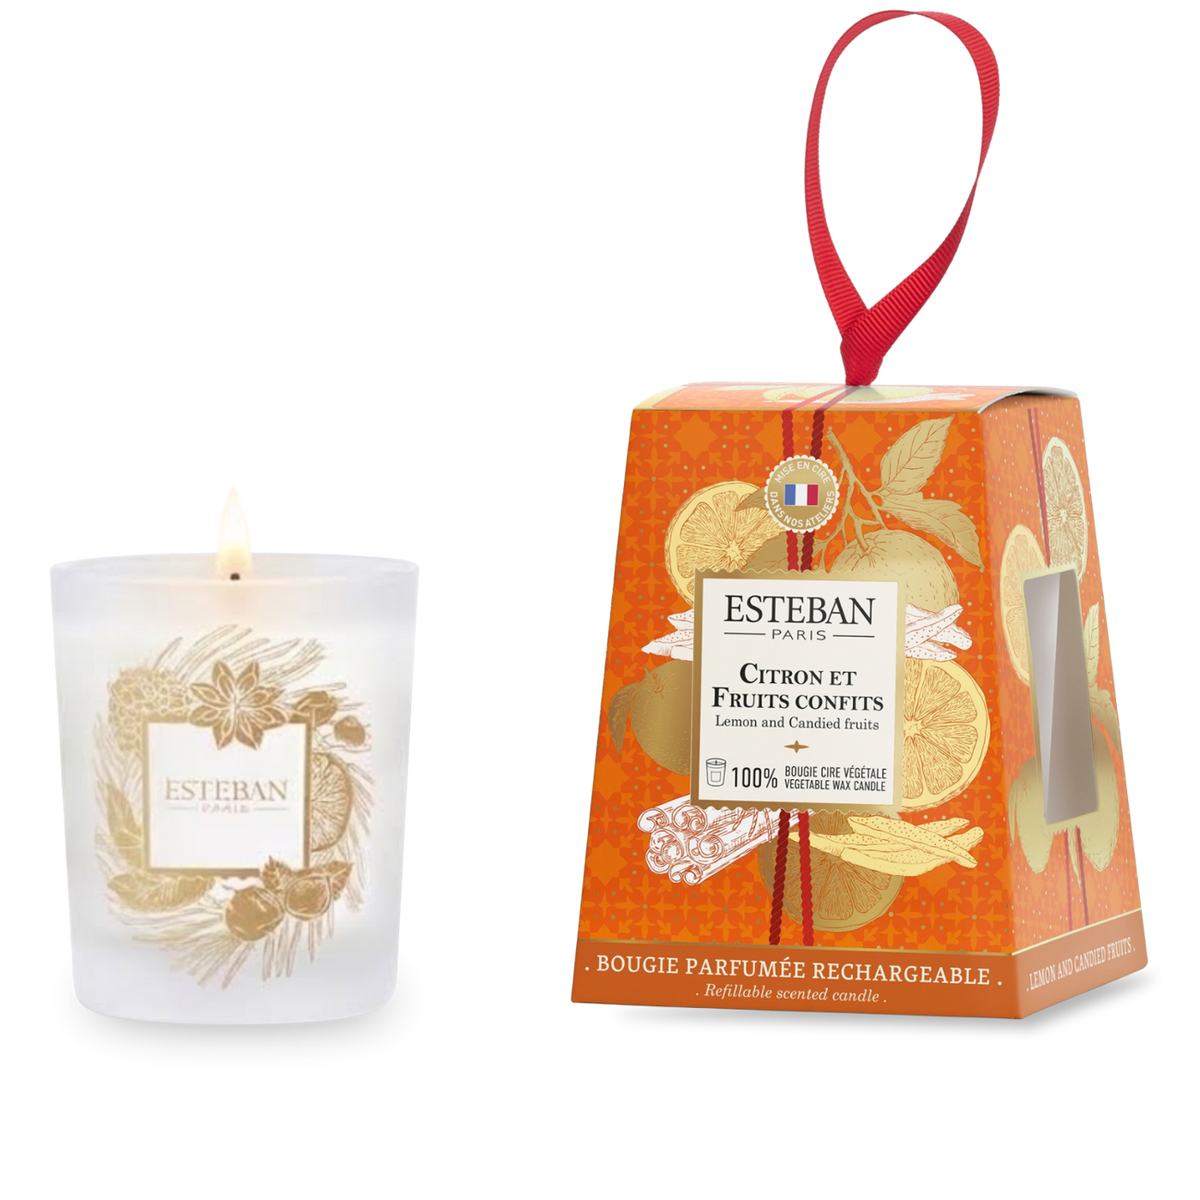
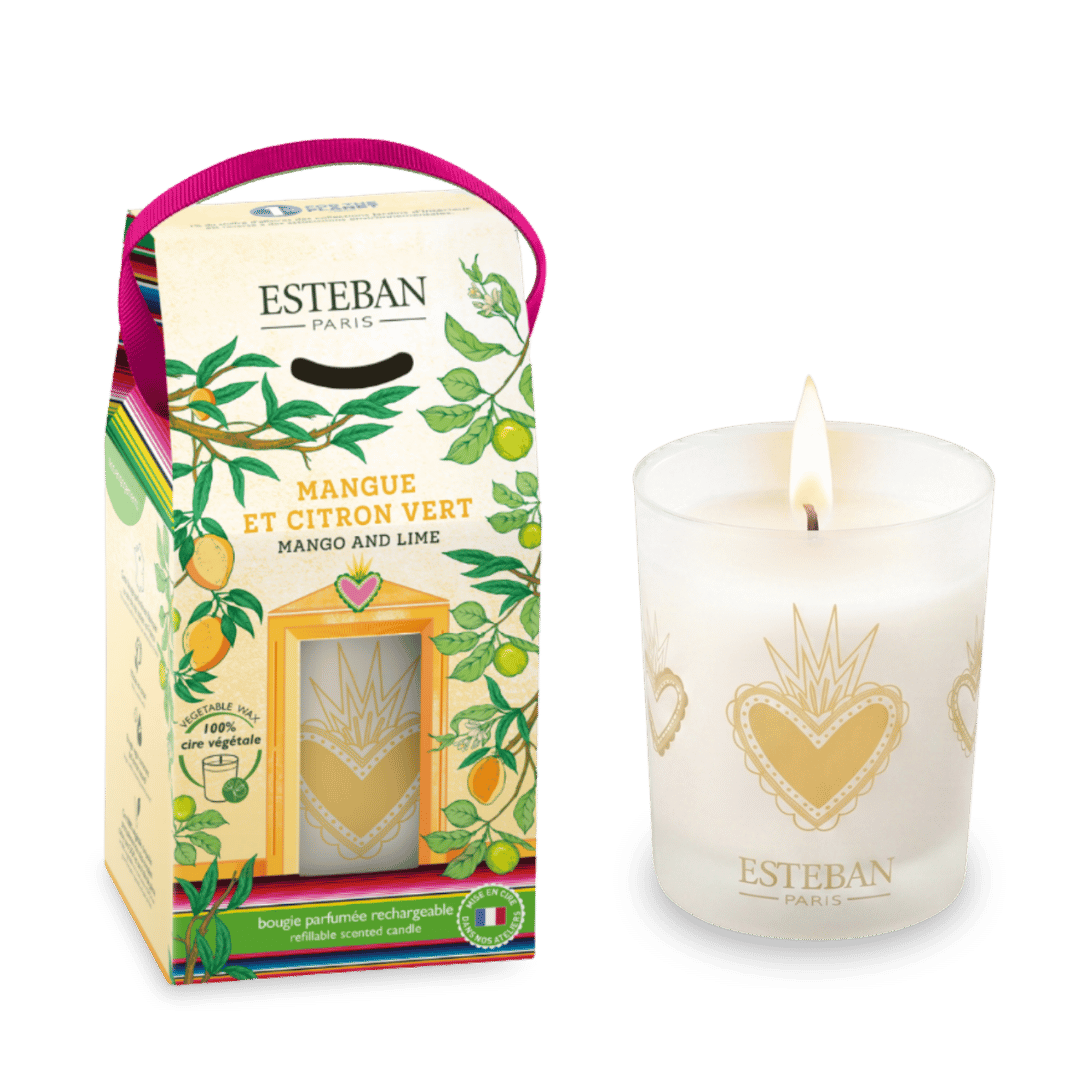
Whether by chance (a gift from a trendy second-hand friend—or simply someone who wishes us well) or by deliberate choice, here you are with your freshly purchased Estéban candle refill. It consists of 3 elements:
- a recyclable cardboard packaging, which provides, in the form of illustrations, instructions for setting up your refill
- a cylinder of 100% vegetable scented wax made in our French workshops, enclosing a pure cotton wick
- a wooden lid made from sustainably managed forests and bearing the label of the fragrance collection you hold in your hands, to close everything.
While the 1st is meant to be thrown away (after unwrapping the wax, there won't be much left anyway) and the second consumed (once installed in your favorite candle holder, the new wax block will be immediately operational, ready for use), the 3rd falls into neither of these categories. In fact, rather than throwing away your wooden lid, we suggest giving it a second life, for the simple reason that, impregnated as it is with scented wax, it proves to be an excellent accessory to slip into small spaces. Intrigued? Follow the guide...
For this DIY you will need:
- a wooden candle refill lid
- a pair of scissors
- a thin ribbon
- optionally, felt, a needle and thread for Christmas ornaments.
DIY Candle - Step 1: Create your scented hanger

As you may have noticed, your wooden refill lid has 2 slots:
- One at the bottom, bean-shaped (we call it, in our jargon, the "smile opening"), which allows you to smell the perfume of the refill without unwrapping it (useful when choosing it in store)
- The second, circular, has been specially designed to allow you to hang your wooden lid wherever you want.
The 1st step is therefore to thread a small ribbon through the slot provided for this purpose (for a "nothing is thrown away, nothing is lost" effect, think of the ribbons sewn at the shoulders of some clothes - which we all mechanically cut off/throw away once the garment is bought; or even the ribbons used to close some small tulle pouches - in this case, take care to remove the ribbon from its casing with a pair of scissors).
Then tie the ends of the ribbon, leaving several centimeters of space between the knot and the lid, to give you room for maneuver in your usage possibilities.

DIY Candle - Step 2: Hang it wherever you want!
Coco Chanel said: "Wear perfume wherever you want to be kissed." For our part, we advise you to place your homemade hanger wherever you want to add a little scented touch (especially in small, hard-to-reach corners). We suggest (tested and approved) that you:
- In the "scented sachet" way: slip the lid between the towels in the bathroom drawer.
- In the "scented wardrobe" way: hang the hanger on the hangers in your closet.
- Like a "car diffuser": tie the hanger to your interior rearview mirror (taking care not to obstruct visibility).

The extra DIY activity:
For the most creative among you, an additional idea would be to transform your hanger into a Christmas tree decoration. Creative possibilities are limitless; however, to avoid interfering with the natural fragrance present in the wooden lid, we advise against using decorative elements based on solvents or that could be absorbed by the wood (markers, glue, etc.).
A good idea, for example, is to cut out colored felt circles or patterned fabric (2 circles per lid, leaving 0.5 to 1cm of felt extending beyond the edges of the lid) and sew the two elements thus formed around the wooden lid. This creates a uniquely original scented Christmas ornament—your mother-in-law will be so jealous... Feel free to involve the children too: with colored pencils, decorating the ornament, once the label is removed, can keep them busy for an hour or two on a morning 😉
Feel free to show us your DIYs on social media with the hashtags #JerecyclemesproduitsEsteban #DIYEsteban